I really love my Instant Pot. It makes recipes like this super easy and fast! Now ordinarily I just order out for Asian food as it’s easier. But these days it’s not as easy and I had been meaning to try this recipe anyway. I will say is that using dark meat chicken vs. light meat makes a HUGE difference. This first time I tried this recipe I used boneless chicken breasts. It turned out dry and not all that good. This time I used boneless thighs and it was delicious. Enjoy!
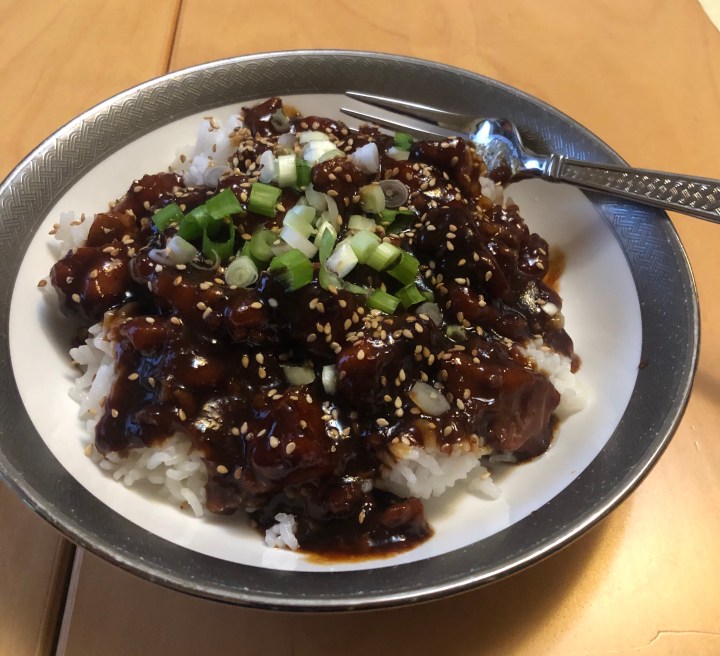
General Tso’s Chicken
- 1 tbsp. oil (sesame if you have it)
- 1 1/2 lbs boneless chicken thighs
- 6 tbsp. rice vinegar
- 6 tbsp. low sodium soy sauce
- 2 cloves minced garlic
- 1 tsp fresh ginger (I have a tube in my fridge)
- 1/4 tsp crushed red pepper
- 3/4 cup hoisin sauce
- 4 tbsp. brown sugar
- 2 tbsp. cornstarch
- 2 cups cooked rice
- 1 green onion, chopped
Directions:
Cut the chicken into about 1″ cubes. Turn your instant pot to sauté and add the oil. Once hot brown the chicken, about 5 minutes. Cancel the sauté. In a medium bowl which together the vinegar, soy sauce, garlic, ginger, pepper flakes, hoisin, and brown sugar. Poor into the instant pot and secure the lit. Make sure the valve is closed. Set your pressure cook to manual and for 10 minutes.
When the 10 minutes is up use the quick release on the valve to quickly release the steam. Remove the chicken. Add the cornstarch to a couple tbsp. of cold water and mix well, I like to use a jar. Set the instant pot to sauté and whisk in the cornstarch. The mixture should start to thicken pretty quickly. Once it’s thick turn the pot off, and set it to keep warm, and add the chicken back in. Serve it over rice and sprinkle with the onion and sesame seeds (optional).


 in
in