For years I’ve been known among family and friends for my various dishes, particularly desserts. So I’ve decided to start a blog to share some of the recipes and my adventures in cooking. Most of what I make is based on common recipes from the internet, cooking shows, etc. But like many, I customize them to make them uniquely my own. I hope you enjoy them as much as I have.
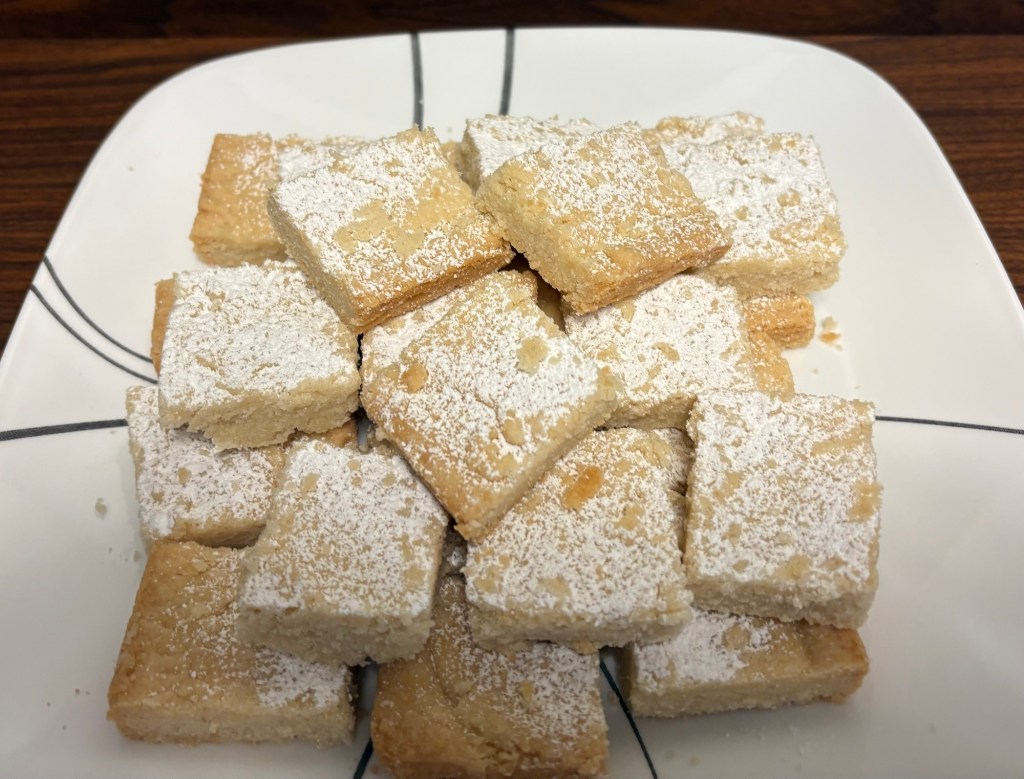
Earl Grey Shortbread Squares
I love shortbread. I think it’s one of the most delicious style of cookies. I came across a recipe for a simple 3 ingredient version but I felt the need to amp it up. So I added Bergamot, which is the main ingredient in Earl Grey tea. It really adds a unique flavor. Enjoy.
Ingredients
- 1 cup unsalted butter @ room temp
- 1/2 cup sugar
- 2 cups all-purpose flour
- 1 tsp bergamot
- Powdered sugar for dusting
Directions
Preheat your oven to 325 .
Cream the butter and sugar until light and fluffy. Gradually add in the flour until well combined.
Press the dough, which will be very still, into an ungreased 9″ square baking pan.
Back 30-35 mins or until light brown. Allow to cool slightly, but are still pretty warm, then cut them into squares*. Dust with powered sugar and enjoy!
*So why cut them while warm? It you let them completely cool they’ll break when cutting. If they’re still warm they’re a lot less likely to do so as they haven’t set (hardened).
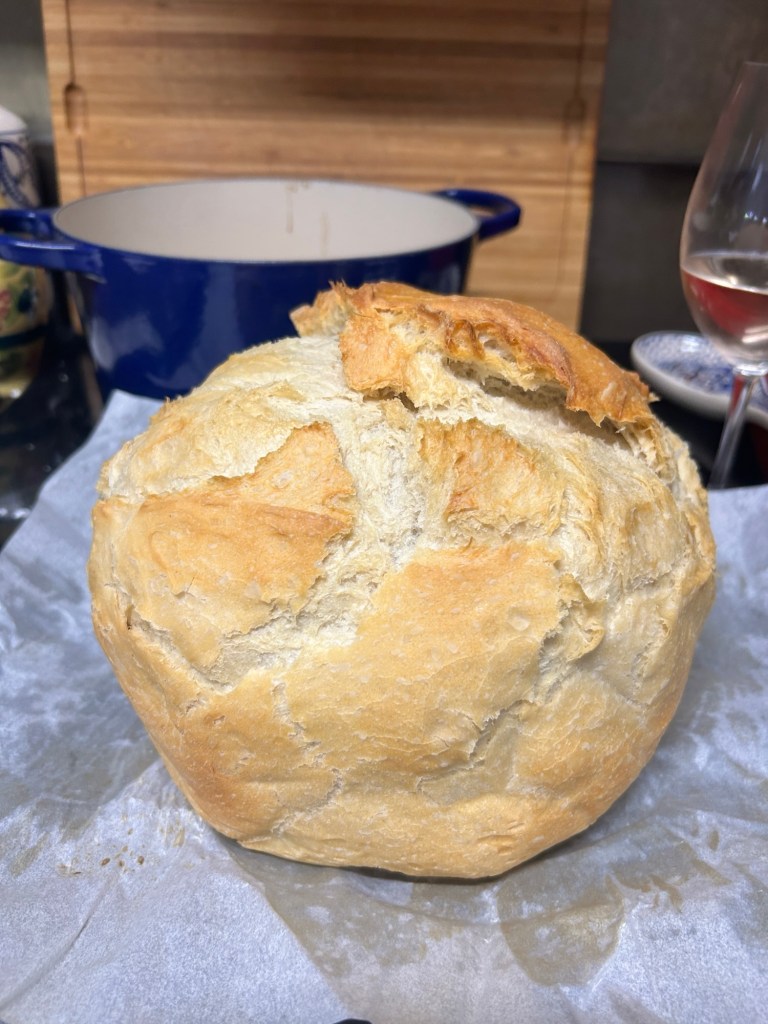
Tuscan Peasant Bread
Quite a few years ago I bought a cook book, Bread for All Seasons. There have been 2 recipes that I’ve made consistently over the years I’ve had it. This is one of them. Surprisingly this is one of the few recipes I’ve posted where I haven’t changed anything. Well other than HOW I bake it.
Like many people I hopped on the Sourdough band wagon during the pandemic. So I read a lot of recipes, watched a lot of videos, tried a lot of different ways to make sourdough. The it occurred to me, why don’t I try one of the most recommended methods of baking bread, a dutch oven. This is the result and I’ll tell you this came out waaaay bigger, fluffier than any other time I’ve made this.
Ingredients:
- 2 1/2 tsp active dry yeast
- 2 cups warm water (105° to 115°)
- 3 1/4 to 3 1/2 cups unbleached all-purpose flour
- 1/2 cup coarse-grind whole-wheat flour
- pinch of salt*
- pinch of sugar
Directions:
In a large bowl or electric mixer combine the yeast & water with a pinch of sugar. Beat in 1 cup of unbleached flour and all of the whole-wheat flour. Beat hard until combined, about 1 minute. cover and let stand 1 hour or until bubbly.
Beat in 1 cup of flour with the salt until smooth, again about 1 minute. Add the remaining flour 1/2 cup at a time until the dough is soft and clears the sides of the bowl. The amount of flour can vary but stop adding when it starts to clear the sides of the mixer bowl, too much flour will make for a tough bread.
Turn out the dough and knead vigorously until it’s smooth and pliable, or use a dough hook on the mixer. This will take about 5-8 minutes. Place the ball of dough in to a lightly oiled bowl, cover and let rise for 1 to 1 1/2 hours (until it’s doubled in size).
Glatten gently and form the dough into a tight round ball. Place it into a dutch oven lined with parchment paper (really prevent it from sticking). Cover and let rest for 20 minutes. Heat your over to 425° and put the rack in the lowest position. Score the top, I did a square pattern, and bake covered for 25 minutes. Then remove the lid and bake for another 30 minutes or until the top is dark golden brown. Remove it from the dutch oven when done as it will get a soggy bottom if you don’t and allow to cool.
*why the asterisk on salt? This was the original recipe suggestion but an alternative, which is below, has more salt. And salt equals flavor, so more salt makes for a more flavorful bread. Less salt though means longer shelf life.
Alternative with Olives
Add 1 1/2 tsp of salt and 1/3 cup of green and 1/3 cup of black olives. Add the olives added all the flour and right before the 5-8 minutes of kneading.
Rich Rolls
So I’ve been trying for a while to create my own version of King Hawaiian rolls. If you’re not familiar with these they are dinner rolls but slightly sweet. I love using them for pulled pork sliders. I tried a couple of recipes I found off the internet, including the one from the King Hawaiian website, but none of them were quite right.
Then it occurred to me, what if I took a recipe I already love and combined it with my Herman starter? So I pulled out my favorite cookbook, the Farm Journal’s Country cookbook that my mom gave me, and went to the Rich Hot Rolls recipe. I made a few changes, including adding Herman starter, and I really like the way they turned out. This recipe makes 24 rolls, so a lot! Enjoy.

Rich Rolls
- 3/4 cup milk
- 1/2 cup (1 stick) unsalted butter + extra for buttering the tops when baking
- 1/2 cup sugar
- 1 tsp salt
- 4 tsp active dry yeast
- 1/2 cup water (110° to 115° )
- 4 1/4 to 4 3/4 cups sifted flour
- 2 eggs
- 1 cup Herman starter
Scald milk*; add butter and sugar and stir until butter is melted and sugar has dissolved. Cool to lukewarm.
Sprinkle yeast on warm water and stir to dissolve. Should start to foam after a few minutes to show the yeast is active and good.
Add milk and water/yeast to a stand mixer (or just a large bowl if you don’t have one). Add in 1 1/2 cups of flour, mix until smooth (about a minute). Add in the Herman starter and eggs, beat until smooth. Gradually stir in enough remaining flour, a little at a time, to make a soft dough that leaves the sides of the bowl.
Switch to a dough hook, or if not using a stand mixer turn out onto a lightly floured surface, and work until it’s smooth and satiny. Shouldn’t be sticky but don’t over flour as that’ll make your rolls tough.
Place in a lightly greased bowl, cover, place in a warm spot and let it rise until doubled. About 1 to 1 1/2 hours.
Punch down and turn out onto a lightly floured surface. Divide and shape into rolls (should make 24). Arrange in a lightly greased or buttered baking pan. Brush with melted butter and let rise for 30 to 45 minutes, or until doubled in size.
Set oven to 400°. Brush with a little more melted butter (I also added a little sprinkle of flake sea salt but that’s optional) bake for 20-25 minutes, the tops should be golden brown.
*So what does scald mean? Basically you’re getting the milk hot enough to almost start to boil and then you turn the heat off. Careful as you don’t want it to burn or scorch, which is why you want to stir it while doing this.
Pumpkin Cinnamon Rolls with Bourbon Maple Cream Cheese Frosting
I recently had a coworker give me some homegrown pumpkin. I wasn’t about to let that go to waste and I was craving cinnamon rolls. So I did a little research and found some recipes I liked and then as is my want, I customized them to make them unique to me. Mostly the addition of bourdon to the frosting and I added some of my Herman starter to the mix. This made the dough a lot more flavorful and rich.

Pumpkin Dough
- 1/3 cup whole milk
- 3 Tbsp unsalted butter
- 1/2 cup pumpkin*
- 1/3 cup sugar
- 1/4 Tsp ground nutmeg
- 1/2 tsp kosher salt
- 1 large egg
- 1 1/4 tsp active dry yeast (1 envelope)
- 2 2/3 cups all purpose flour
- 1 cup Herman starter
Filling
- 1 stick of unsalted butter, room temp (8Tbsp)
- 3/4 cups brown sugar
- 1 Tbsp ground cinnamon
- 1/2 tsp ground nutmeg
- 1/2 tsp ground allspice
- 1/4 tsp ground ginger
- 1/4 tsp ground cloves
make the dough
Warm the milk and butter together until the butter is just melted. You want the mixture to be between 105° and 115°. In a bowl or stand mixer whisk the pumpkin, sugar, nutmeg, and salt. Slowly add in the milk mixture, egg, yeast, and Herman starter. Slowly add in 1 cup of flour. Mix for at least 1 minute, scraping down the sides of the bowl. Add in the rest of the flour a 1/3 of a cup at a time and beat until smooth.
Kneed the dough for 5 minutes, this is much easier with a stand mixer. You’ll want to switch to a dough hook. If the dough is too sticky you may need to add a little more flour, do this 1/8 of a cup at the most. I had to do this because my pumpkin happened to be really “wet”. You want the dough to be smooth and elastic, a little tacky is good but not super sticky. If you add to much flour though it won’t be a delicate dough but tough instead.
Let dough rise in a lightly greased bowl for about 2 hours or until doubled in size.
Roll out the dough
Punch down the dough and turn it out onto a lightly floured work surface. Roll it out to 10″x14″ rectangle. Let it rest for 10 mins. In the meantime grease your baking dish, you can use a 9″ round or 9″x13″ rectangle. Makes between 10-12 rolls.
This is also a good time to skip down to the filling recipe and put that together.
Spread the soften butter evenly on the dough. Combine the brown sugar and spices and sprinkle on top of the butter.
Roll up the dough from the long side (14″). Use a sharp knife or unflaroved dental floss but the log into 10 to 12 discs. Arrange them in the buttered backing pan. Cover the rolls with either plastic wrap or a light towel, let them rise for 1 hour. Preheat your oven to 350°.
Bake the rolls for about 30 mins, the tops should be nicely browned. Let cool on a wire rack for at least 10 mins.
Maple bourbon cream cheese frosting
- 1 package (4oz) cream cheese, at room temp
- 3 Tbsp maple syrup
- 1 Tbsp Bourbon
- 2/3 cup of powdered sugar
Beat the cream cheese until smooth and slightly fluffy. Slowly, I mean slowly, add it the maple syrup. If you do it too fast the cream cheese will start to chunk up and no one wants that! Once it’s again light and fluffy slowly add in the Bourbon and then beat in the sugar a little at a time. Once it’s all combined and smooth you can frost the rolls and enjoy!
Herman Starter
A coworker gave me this recipe a few years back but it wasn’t until last year that I tried it. Most people are familiar with sourdough starter. A few also know the other types of starter: Poolish, Biga, Sponge, etc. but this one is under the radar. It’s a little unique, in my opinion, as it starts with sugar and then the feeding includes milk. This makes for a more rich dough.
While I’ve made bread with this I prefer it in other things, such as rolls (see my next recipe for pumpkin cinnamon rolls).

Starter
- 2 Cups flour
- 3 Tbsp sugar
- 2 1/4 tsp active dry yeast (1 envelope)
- 1 tsp kosher salt
- 2 cups warm water (105° to 115°)
In a large bowl combine the flour, sugar, yeast and salt. Gradually stir in the water and mix until smooth. Cover with a towel and set in a warm (80° to 85°) draft free location. I like to put it in my oven with the oven light on. That keeps it a consistent temp and it’s draft free.
Stir the mixture 2 or 3 times a day for 3 days. The starter should be bubbly and produce a yeasty aroma. Transfer it to a jar or better a starter set and refrigerate. You should use it within 14 days or freeze it, it freezes really well. You’ll want to let it thaw before use, it should become bubbly again.
Feeding
After each use you’ll want to “feed” it. In this it’s similar to sourdough but in my opinion much easier. To feed:
- 1 cup flour
- 1 cup milk (warm not cold)
- 1/2 cup sugar
Mix well and again put in a warm draft free location. Stir 2 to 3 times a day, it’ll be good to use after 24 hours.
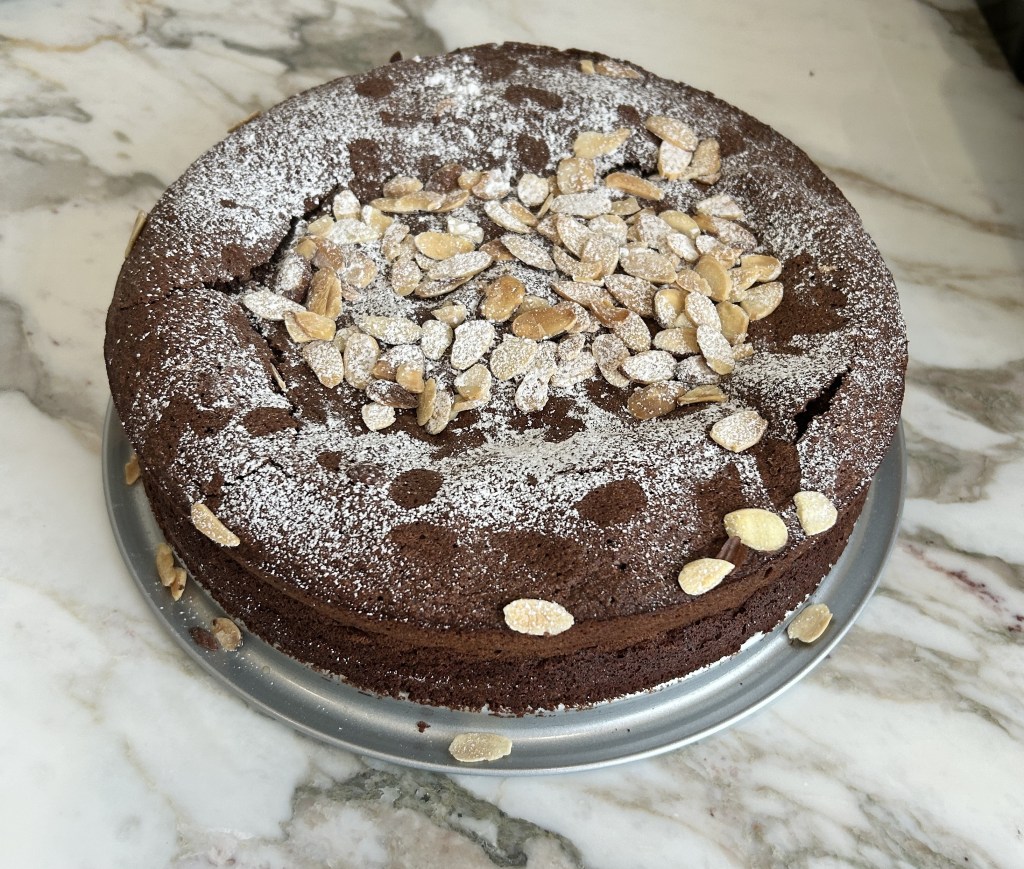
Torta Caprese
So I first saw this recipe on PBS, Christopher Kimball’s Milk Street. Unfortunately he doesn’t share his recipes for free so I hunted around and combined the best of what I found. Bonus this is gluten free and unlike some flourless chocolate cakes not dense at all. Enjoy!
Torta Caprese
- 1 1/2 cups bittersweet chocolate
- 1 cup unsalted butter (plus for buttering the pan)
- 1 tsp espresso powder
- 5 large eggs, separated
- 1/4 tsp kosher salt
- 1 cup sugar
- 1 1/2 cups almond flour (the finer the better)
- 1 tsp real vanilla
- 1 tbsp bourbon (I used rye)
- Almond slices & powdered sugar for garnish
Directions:
Preheat your oven to 350 degrees. Butter a 9” springform pan.
Place the chocolate, butter, and espresso in a double boiler and stir until melted and smooth. Allow to cool until just warm to the touch.
Beat the egg whites, with salt, until stiff peaks form. In another bowl beat the egg yolks with sugar, vanilla, and bourbon until light and pale. Using a spatula mix the chocolate, almond flour, and egg yolks until well combined. In batches gently fold in the egg whites being careful to not deflate them. Pour mixture into the prepared pan and bake for 40 minutes. Should be fluffy with possible cracks on the top.
You do not want to over cook this cake! The toothpick test should come out slightly gooey with some crumbs.
Dust with almond slices and powdered sugar once cooled.
Marbled Quattro Leche Cake

This recipe is based off of a recipe from Pati Jinich on PBS. Hers is a more traditional tre leche cake with a “marble” of vanilla & chocolate. I thought I’d up it a notch by adding a 4th leche, dulce de leche. I make my own which you can find in my recipe for dulce de leche cinnamon rolls (here).
It really added a little extra to the cake and made it super delicious. Enjoy!
Marbled quattro leche cake
Cake:
- Unsalted butter to butter the pan
- 9 large eggs, room temp, separated
- 1 cup sugar
- 1 tbsp vanilla extract
- 2 cups all-purpose flour
- 1/2 cup hot water
- 1/3 cup unsweetened cocoa powder
- 1 tsp espresso powder
Sauce:
- 1 14oz can sweetened condensed milk
- 1 12oz can evaporated milk
- 1 cup whole milk
- 1 cup dulce de leche sauce
- 1 tbsp vanilla extract
Topping:
- 2 cups heavy cream
- 3 tbsp powdered sugar
- Mexican-style chocolate (optional)
Directions:
Preheat the oven to 350 with the rack in the middle. Butter a 9×13″ backing pan and line it with parchment paper.
In a stand mixer with the whisk attachment, beat the egg whiteson medium-high until they are soft peaks. Reduce the speed to medium and slowly add the sugar. Beat until they have stiff peaks.
In another bowl beat the egg yolks until fluffy & pale. Add the vanilla and beat until incorporated. Gently fold the yolks into the whites being care not to deflate them. Fold in the flour, gently, 1/4 cup at a time until mixed well (no obvious flour pockets).
Combine the hot water, espresso powder, & cocoa. Separate the batter mixture in half, add the cocoa water to one (gently mix well) and pour the non-cocoa batter into the pan. Dollop the dulce de leche sauce over the batter. Pour the cocoa batter down the center. Use a knife or spoon and make a whirling design from side to side.
Bake for 20-25 minutes until the top is lightly brown and feel spongy to the touch. Remove and let cool. Once cool invert onto a board or plate and remove the parchment paper. Invert back into the pan and punch it with a folk creating lots of holes for the sauce to go into.
Combine the 3 milks with the tbsp of vanilla. Pour 2/3 over the cake. Cover and refrigerate for at least 2 hour, over night is better. Before serving take the cake out and let it come up to room temp. Pour the rest of the sauce over the top.
In a stand mixer with the whisk, beat the heavy cream until it has soft peaks. Slowly beat in the powdered sugar and them beat until is back to soft peaks. Spoon over the cake and grate the Mexican chocolate over the top if desired.
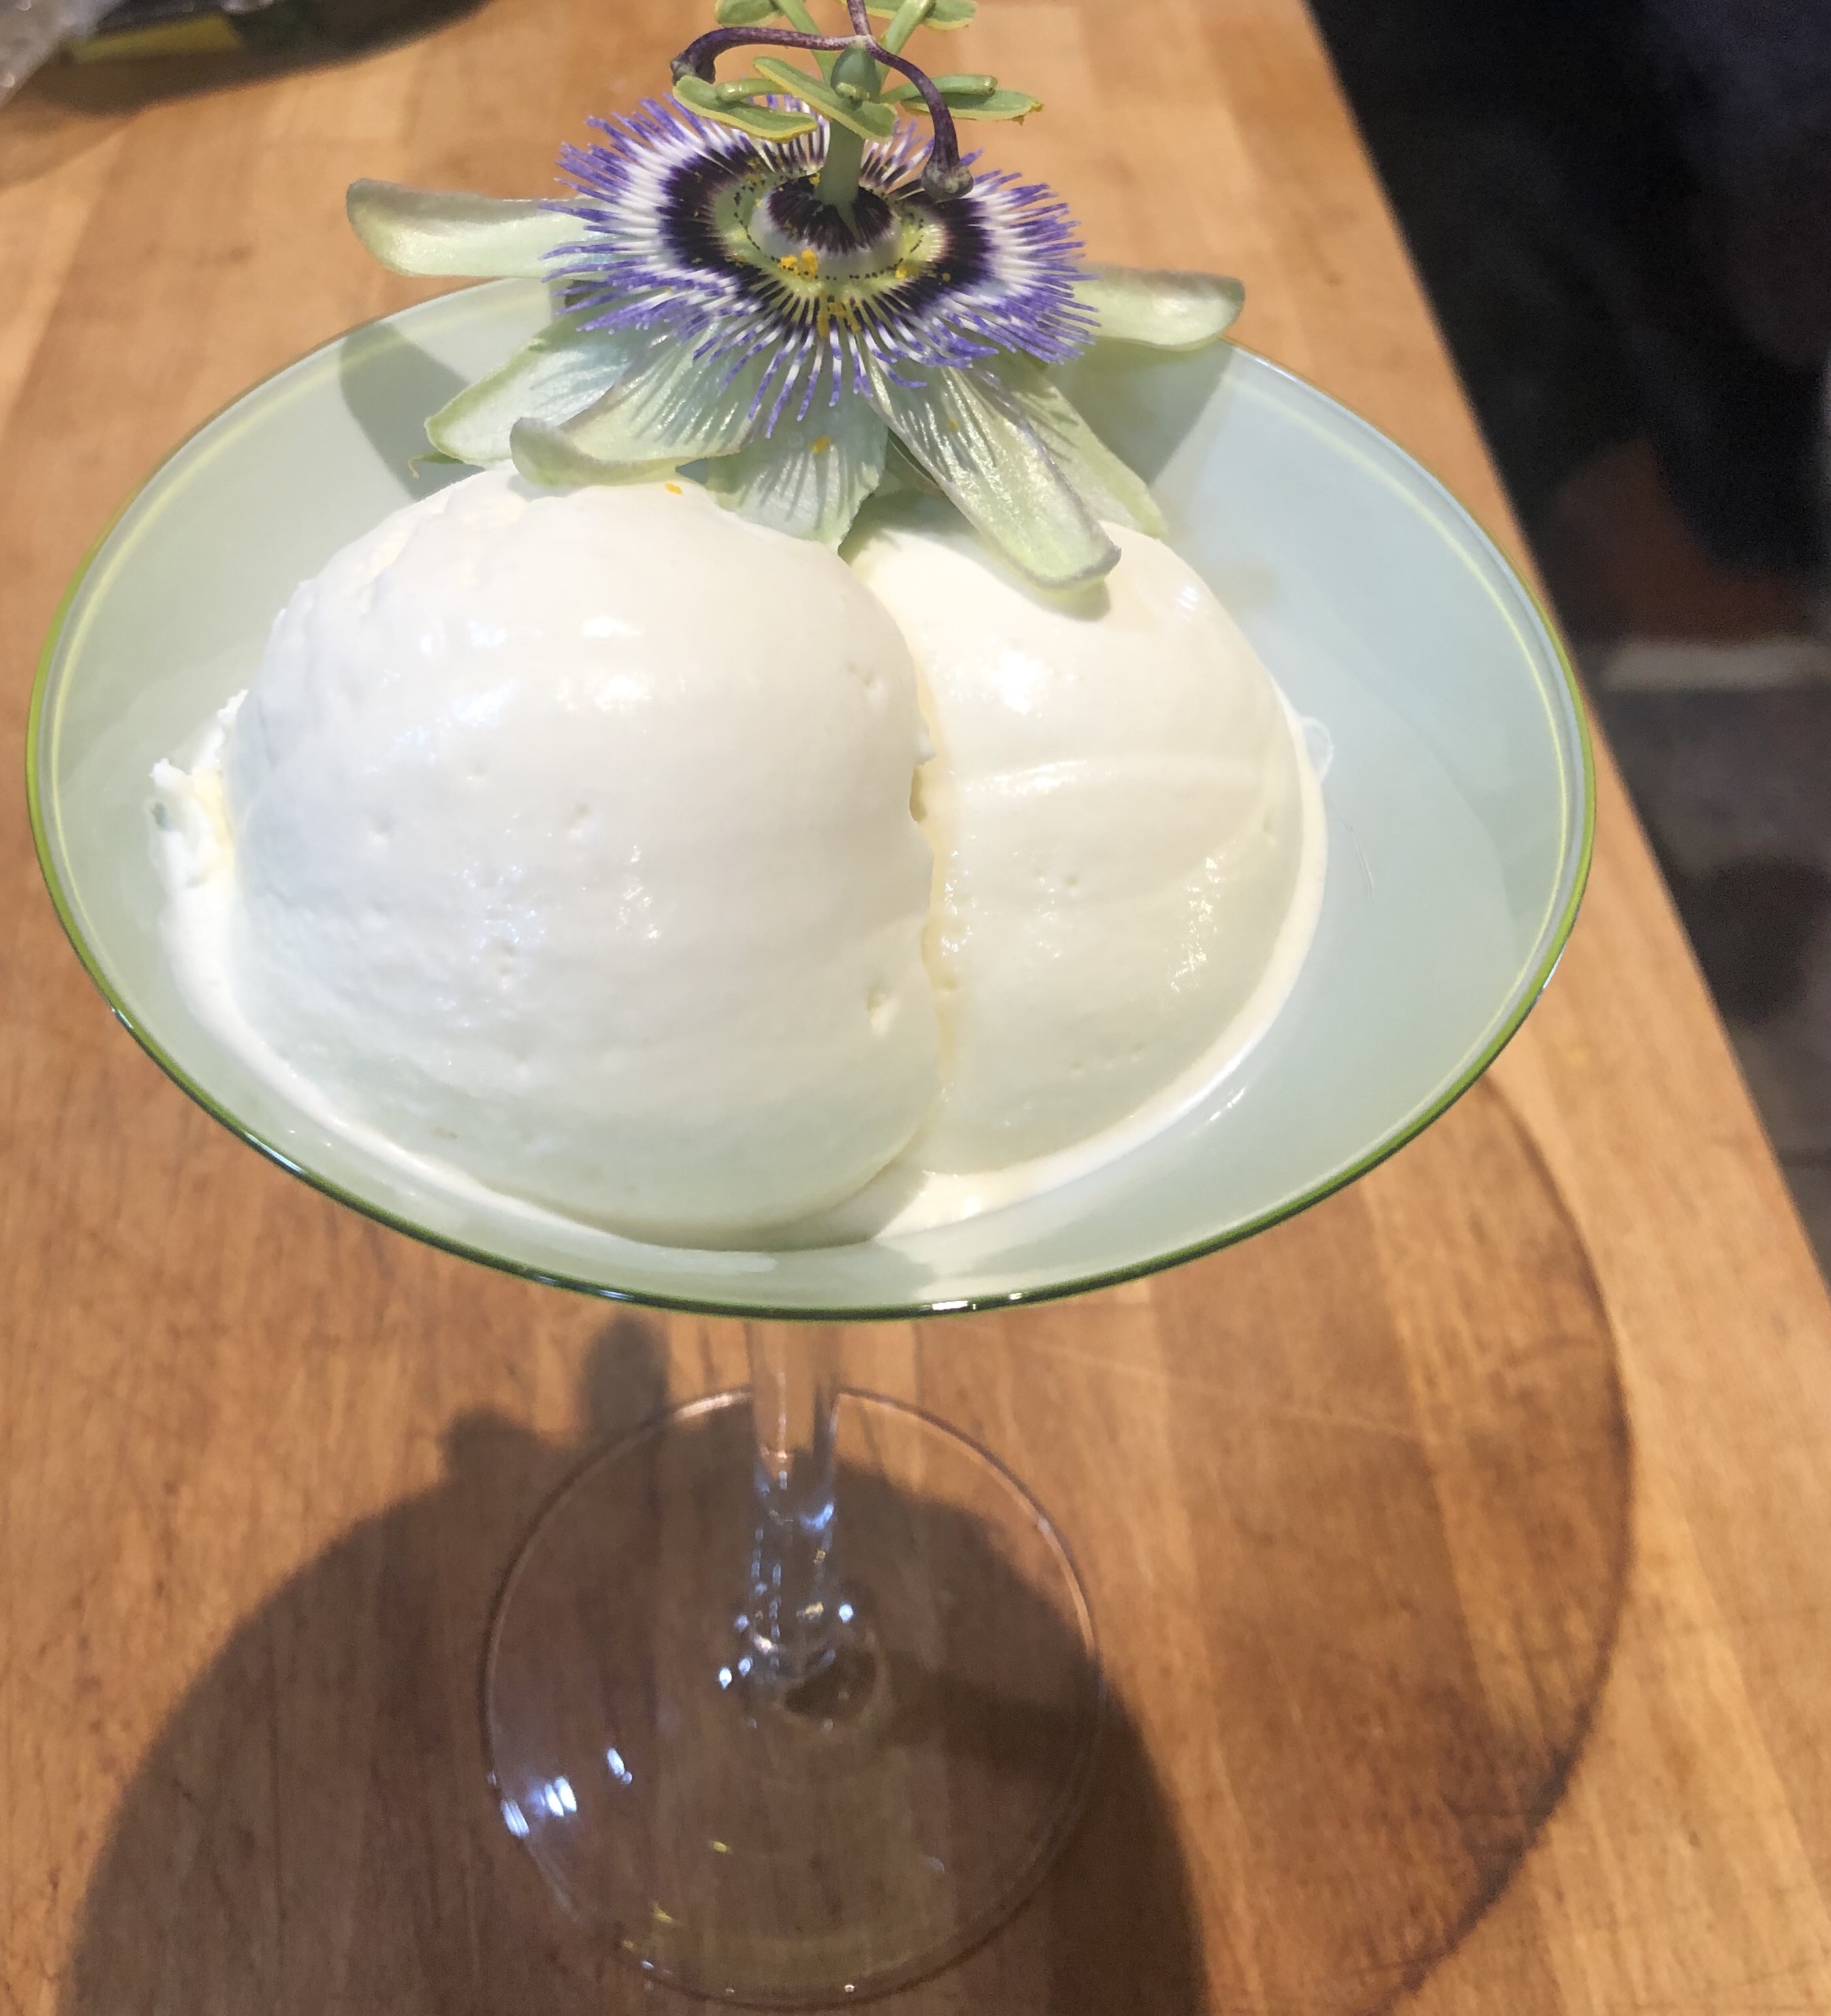
Lilikoi Ice Cream
So with the whole stay at home situation, I’ve been slowly going through stuff in my freezer. I came across some frozen lilikoi juice that I had left over from making a couple of recipes last summer. I also had a carton of heavy cream that I needed to use, so I decided to make ice cream. Now lilikoi, for those who don’t know, is the Hawaiian name for passion fruit. It’s slightly tart and very refreshing. I think it turned out pretty well. Enjoy!
Lilikoi Ice Cream
- 2 cups Lilikoi juice
- 3/4 cup sugar
- 1 1/2 cups whole milk
- 3 cups heavy cream
- 1 1/8 cups powdered sugar
- 1/2 tsp vanilla
Directions:
In a medium sauce pan, combine the Lilikoi juice and 3/4 cup of sugar. Bring to a simmer and allow it to reduce until you have about 1/2 cup. Allow to completely cool.
In a medium bowl combine the Lilikoi simple syrup with the rest of the ingredients. Whisk until well combined and the powdered sugar has completely dissolved. Put it in the freezer for at least one hour. Transfer to your ice cream machine and mix until it’s solid. Put in containers, freeze, or just eat it.
Stay at Home Cookies
So this is based of a recipe that I pulled out of a magazine years ago and had never gotten around to trying it. As we’re all in lockdown, for the most part, it’s a perfect time to give it a try. This cookie has a lot going on. I did mix it up a little, used creamy peanut butter instead of chunky and added the butterscotch chips. They’re delicious, the butterscotch really comes through and the oats add a nice bite. Be warned, they’re a little crumbly. Enjoy!

Stay at Home Cookies
- 1 1/2 cups all-purpose flour
- 1 tbsp. baking powder
- 1/2 tsp kosher salt
- 3/4 cup unsalted butter, at room temp
- 3/4 cup peanut butter
- 2/3 cup sugar
- 2/3 cup brown sugar
- 3 eggs
- 2 tsp real vanilla extract
- 3 cups oats
- 1 1/2 cups chocolate chips (I use semisweet)
- 1 1/2 cups butterscotch chips
Directions:
Preheat your oven to 350º and line 2 cookie sheets with parchment paper.
In a medium bowl whisk together the flour, baking powder, and salt.
In your stand mixer cream together the butter and sugars until light and fluffy. Beat in the peanut butter until smooth. Add in the eggs one at a time until smooth, you probably need to scrape down the sides at least once. Add in the vanilla. Turn the mixer down to low and gradually add the flour mixture until just combined. Add in the oats next and just beat until combined. With a spatula fold in the chocolate and butterscotch chips.
Drop a generous tablespoon of dough onto your cookie sheet, about 2″ apart. Back for 12-15 minutes or until you just start to see the edges turn golden brown. Allow to cool and then devour.
General Tso’s Chicken
I really love my Instant Pot. It makes recipes like this super easy and fast! Now ordinarily I just order out for Asian food as it’s easier. But these days it’s not as easy and I had been meaning to try this recipe anyway. I will say is that using dark meat chicken vs. light meat makes a HUGE difference. This first time I tried this recipe I used boneless chicken breasts. It turned out dry and not all that good. This time I used boneless thighs and it was delicious. Enjoy!

General Tso’s Chicken
- 1 tbsp. oil (sesame if you have it)
- 1 1/2 lbs boneless chicken thighs
- 6 tbsp. rice vinegar
- 6 tbsp. low sodium soy sauce
- 2 cloves minced garlic
- 1 tsp fresh ginger (I have a tube in my fridge)
- 1/4 tsp crushed red pepper
- 3/4 cup hoisin sauce
- 4 tbsp. brown sugar
- 2 tbsp. cornstarch
- 2 cups cooked rice
- 1 green onion, chopped
Directions:
Cut the chicken into about 1″ cubes. Turn your instant pot to sauté and add the oil. Once hot brown the chicken, about 5 minutes. Cancel the sauté. In a medium bowl which together the vinegar, soy sauce, garlic, ginger, pepper flakes, hoisin, and brown sugar. Poor into the instant pot and secure the lit. Make sure the valve is closed. Set your pressure cook to manual and for 10 minutes.
When the 10 minutes is up use the quick release on the valve to quickly release the steam. Remove the chicken. Add the cornstarch to a couple tbsp. of cold water and mix well, I like to use a jar. Set the instant pot to sauté and whisk in the cornstarch. The mixture should start to thicken pretty quickly. Once it’s thick turn the pot off, and set it to keep warm, and add the chicken back in. Serve it over rice and sprinkle with the onion and sesame seeds (optional).
