I credit my love of cooking to my mother. She was always willing to have me help her in the kitchen and she seemed to share my love of baking. One of the things she gave me when I moved out on my own was a cookbook. I still have that cookbook and use it regularly.
Like a lot of recipes I use I’ve modified this one as well. The original, from that well-worn cookbook my mom gave me, had you boiling the chicken for 3 hours, straining it to get the broth, and then making the chicken and dumplings. Way too much work for me. This recipe takes a fraction of the time and is just as delicious. Enjoy!
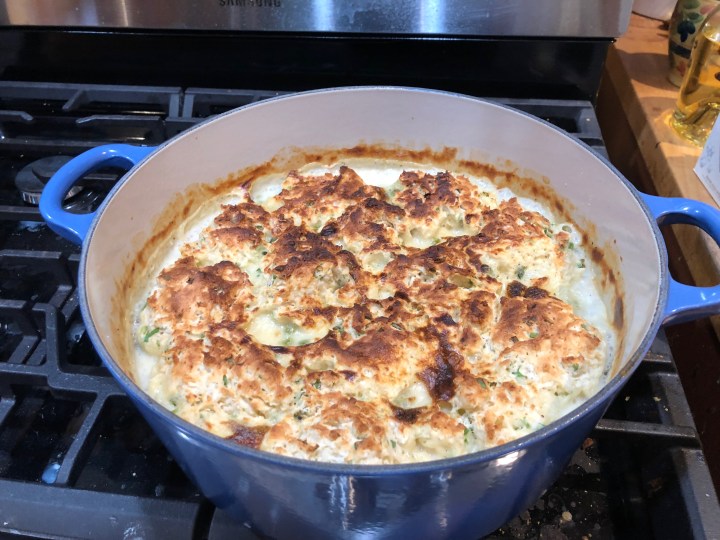
Chicken & Dumplings
- 1 lbs potatoes, cut in 1/2 inch cubes
- 1 cup carrots, either baby ones or cut in 1/2 sections
- 1 cup green beans
- 1 cup peas
- 1 chicken breast*
- 4 cups chicken stock (more or less)
- 2 cloves of garlic
- 1 small onion, diced
- 1 cup milk
- 1/3 cup flour
Directions:
In a large oven proof pot, I use a large Le Creuset Dutch Oven, combine the potatoes, carrots, green beans, peas, garlic and onion. Pour in the chicken stock. Here’s why I put “more or less” in the ingredient list. Really you only need enough to make sure all of the veggies are covered with stock. So depending on your pot and if you strictly follow the ingredient list (which you don’t have to) will depend on how much stock you need.
Bring to a boil and let simmer until the veggies are tender, about an hour. Then in a jar (this is really the easiest way to do it) add the milk and flour and shake vigorously until combined. Add to the pot and stir until well combined. Continue stirring slowly, it should start to thicken. Turn down to low and make the dumplings (recipe below). Spoon in the dumpling and cook, covered, for 15 minutes.
Meantime turn your oven to Broil. After 15 minutes, uncover, and put in the oven to finish. You want the dumplings to become nice and brown, probably about 5 minutes. Let cool for about 10 minutes and then enjoy.
Dumplings
- 2 cups flour
- 3 tsp baking powder
- 1 tsp salt
- 1/4 to 1/3 cup of chopped chives
- 1/4 cup of shortening
- 1 cup milk
Directions:
Mix the flour, baking powder and salt in a medium-sized bowl. Add the chopped chives and mix. Cut in the shortening until it resembles chunky, wet sand. Add the mix and stir until just mixed, try not to over mix it. If they’re dry lumps that’s fine as long as there aren’t too many or too big. Let it sit for about 5 minutes and then drop into the chicken mixture using a regular tablespoon.
*ok what is with the chicken? Like my potpie recipe you have a choice or pre-cooking the chicken or cook it with the rest of the ingredients. I’m a HUGE fan of Anova Sous Vide (I promise I’ll blog about this device soon), which is great for pre-cooking stuff. If you do this add the chicken in just before the dumplings. If you want to cook the chicken with everything else, pour a couple of tablespoon of olive oil in the pot and saute for about 5 minutes. Then follow the recipe above.