So this recipe, and the one that’ll follow it, are basically the same cake. I originally found the one I’ll post after this and was intrigued because it has Kahlua in it. It called for a strawberry frosting as well, which I thought was gross. Strawberry and coffee, which is the flavor of Kahlua, just do not go together as far as I’m concerned. So the next cake, which I make before this one, has a completely different frosting. Then a Facebook friend sent me this recipe, which was great! I made a few modification. The original called for 3 cups of sugar, way to much if you ask me. And I switched up the frosting, again I’m not a huge fan of buttercream frosting.
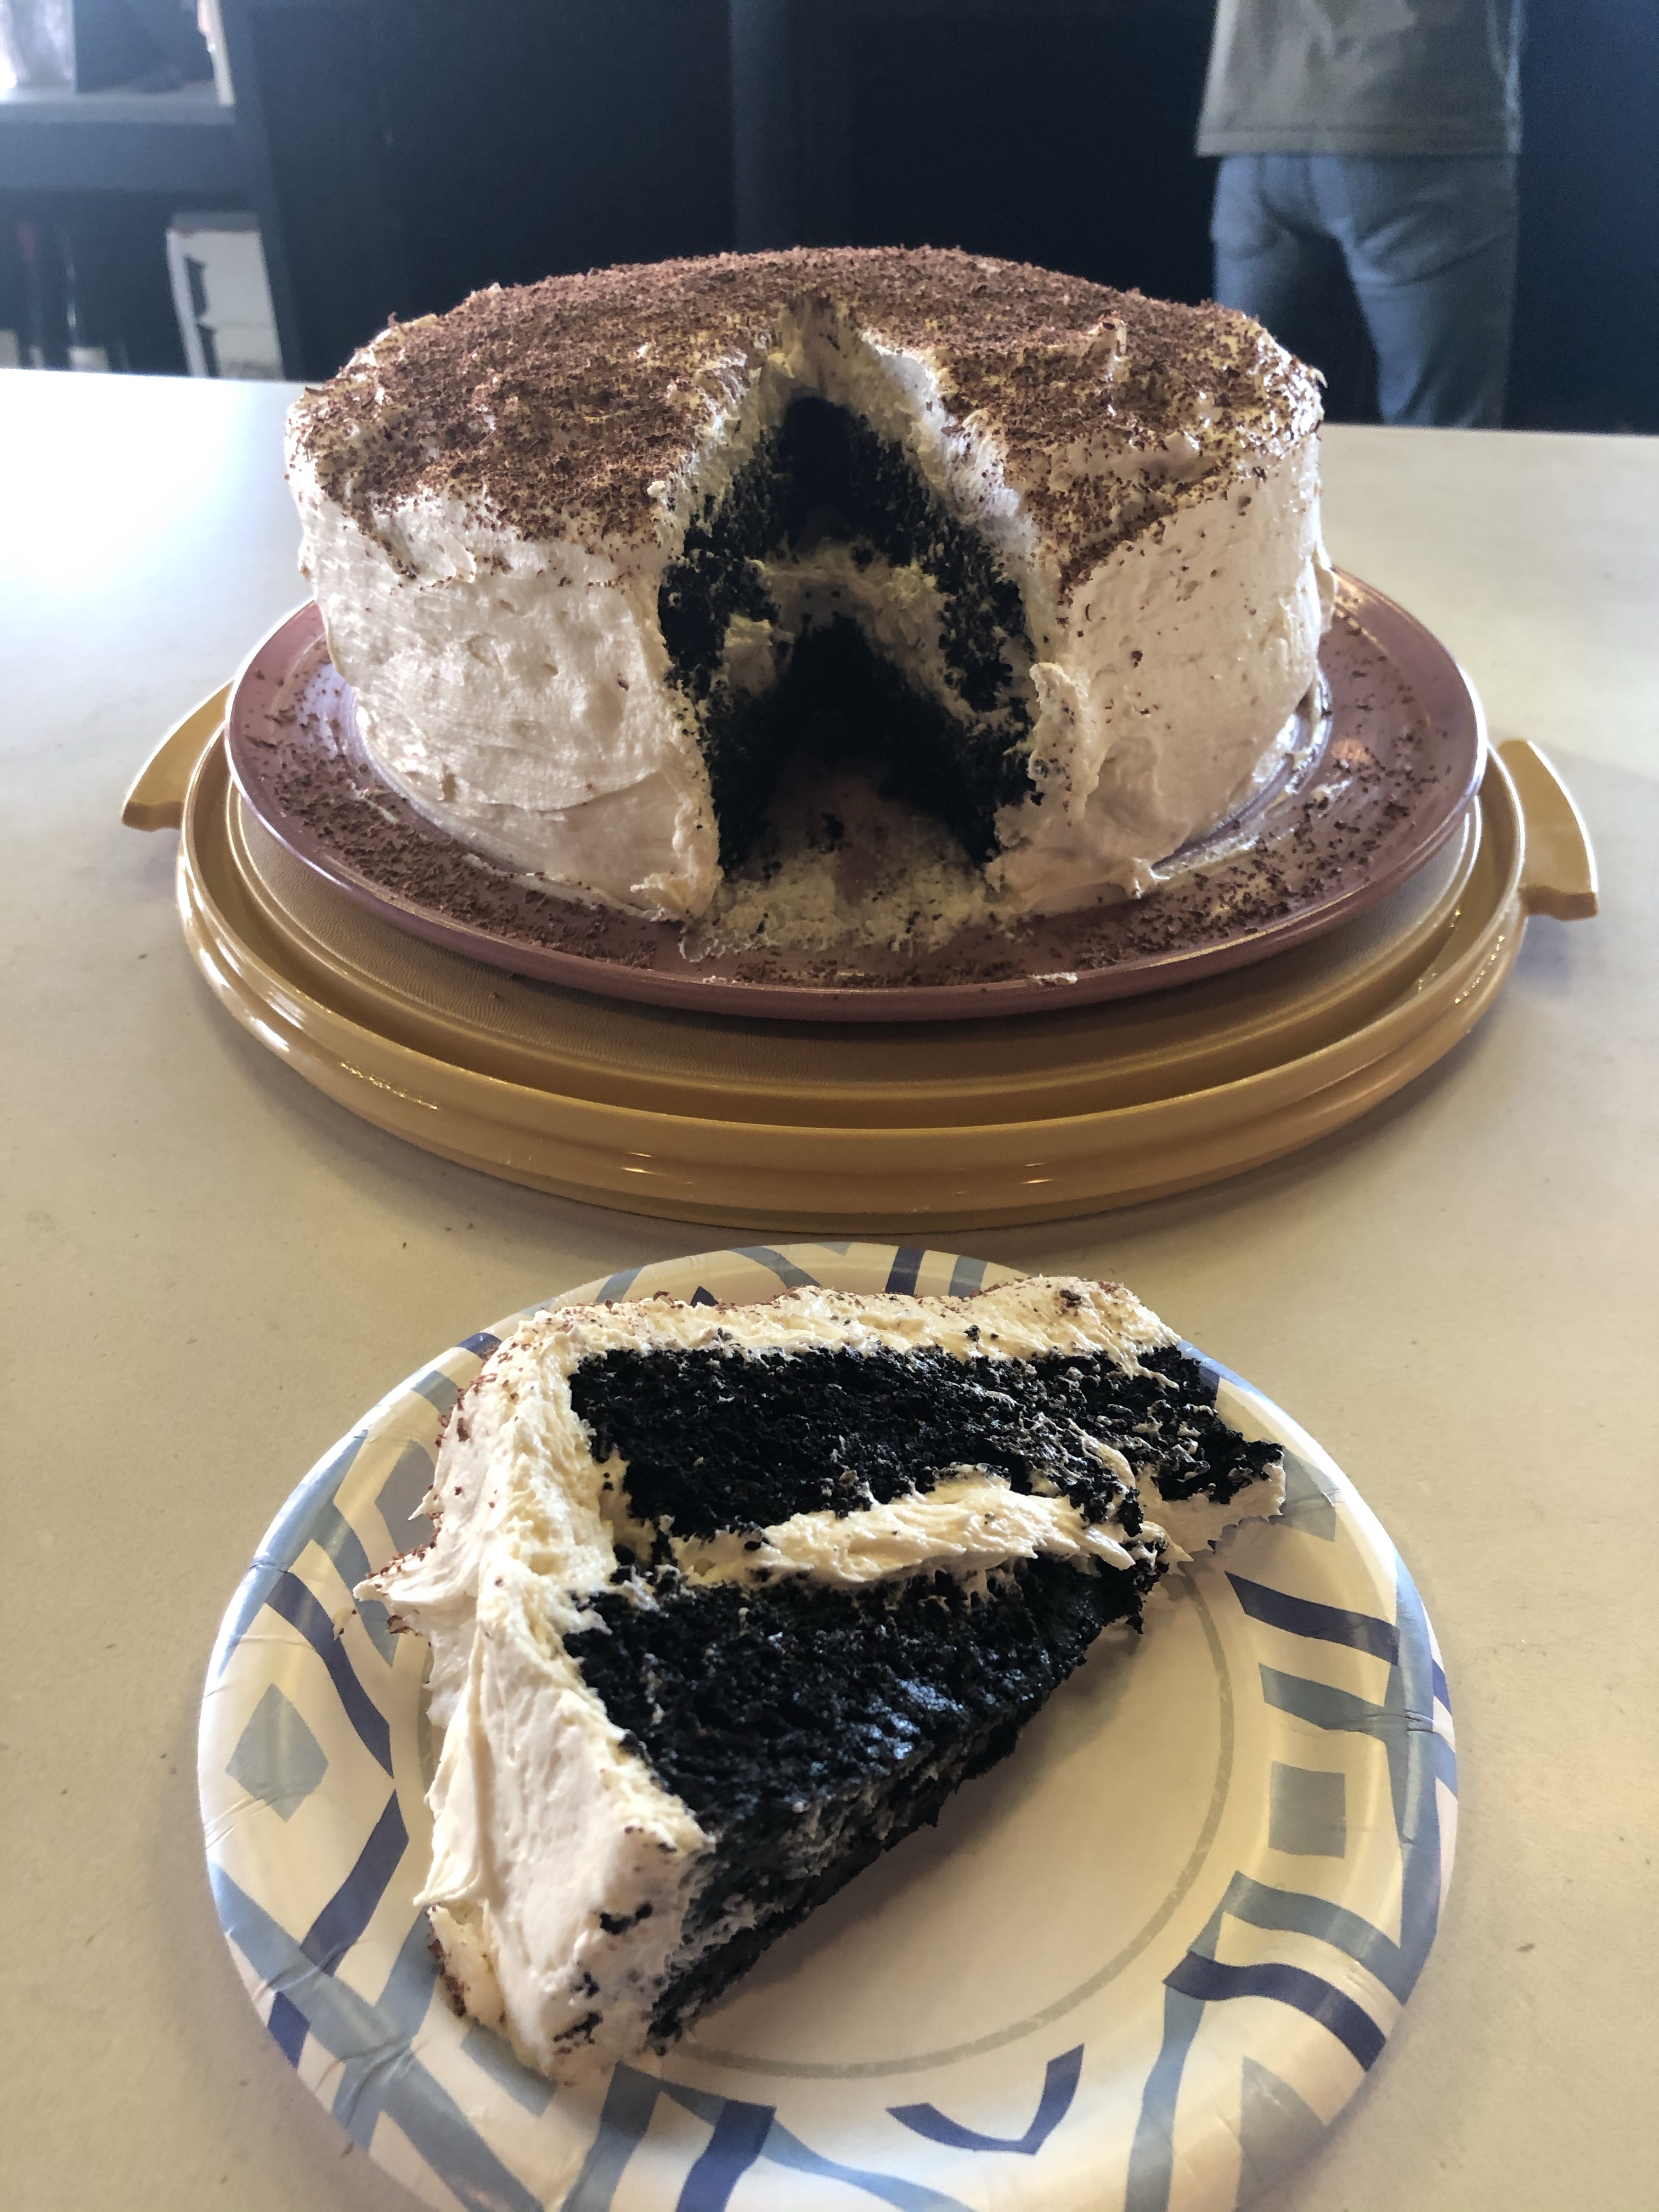
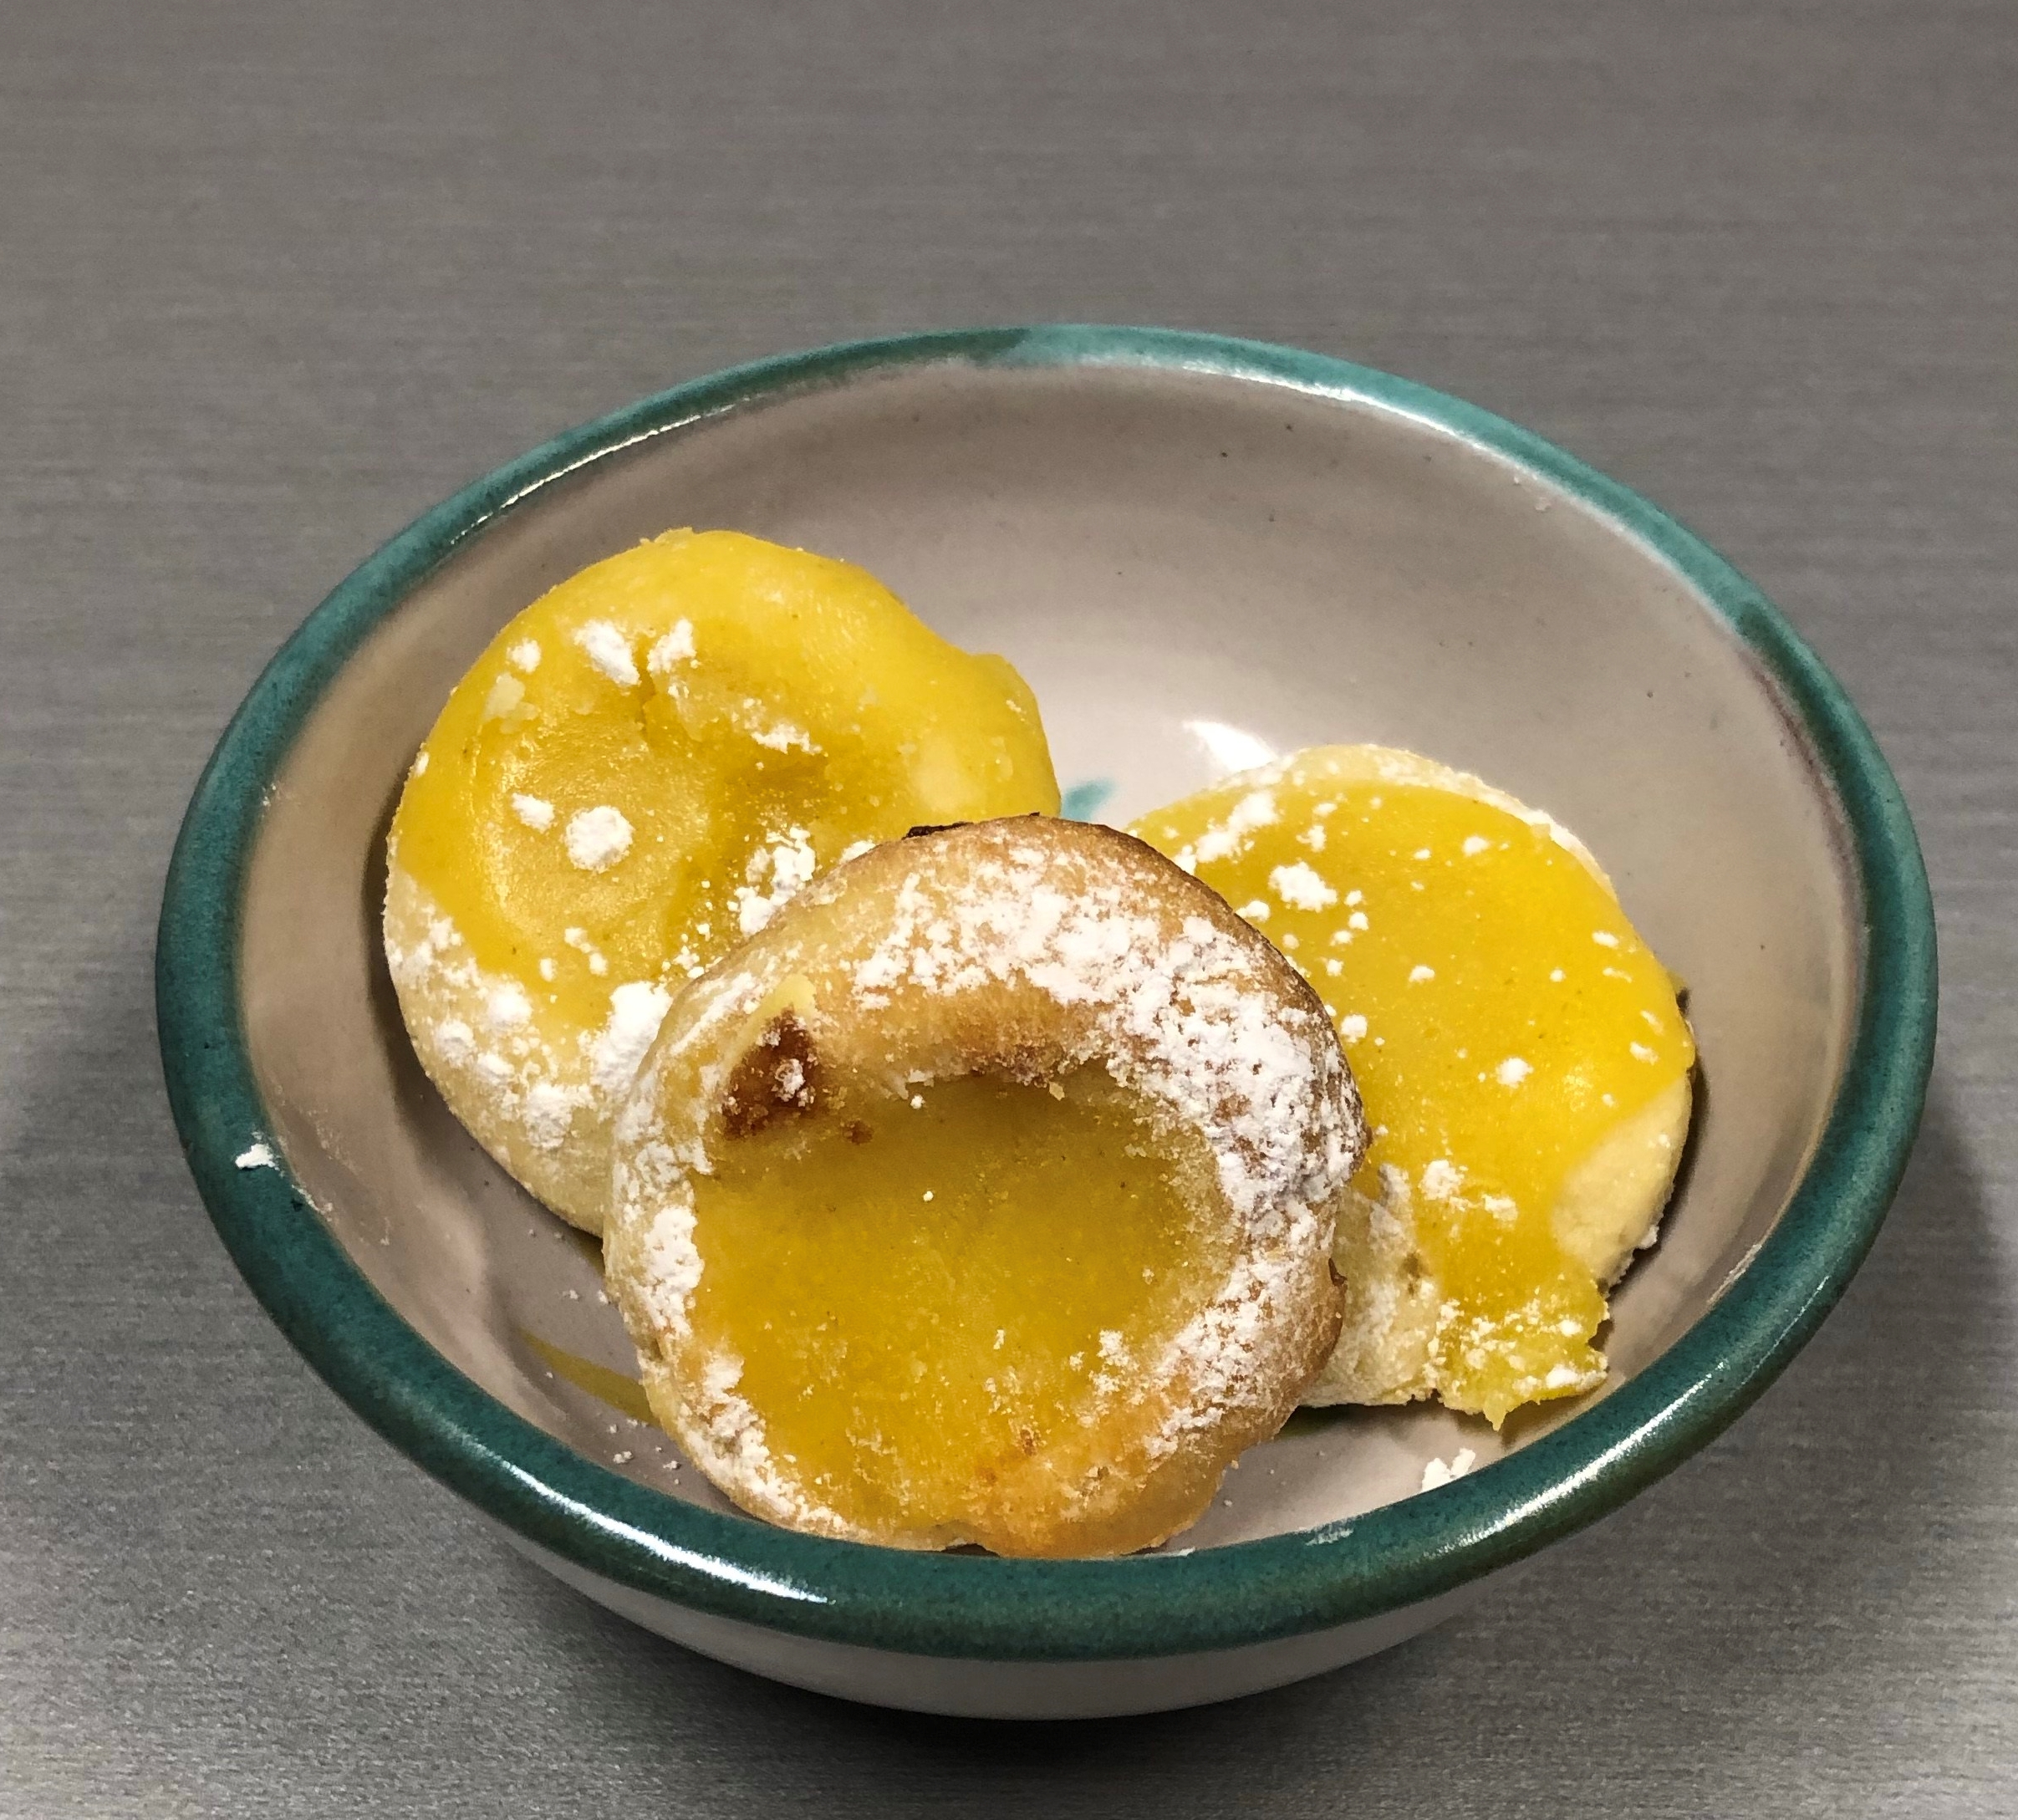
Now as I was on a cake kick, and this was really the 3rd cake recipe in a row, I decided to mix it up a bit. I made this into mini cupcakes instead. But you can certainly make this as a cake as well, either rounds or a sheet cake. Enjoy!

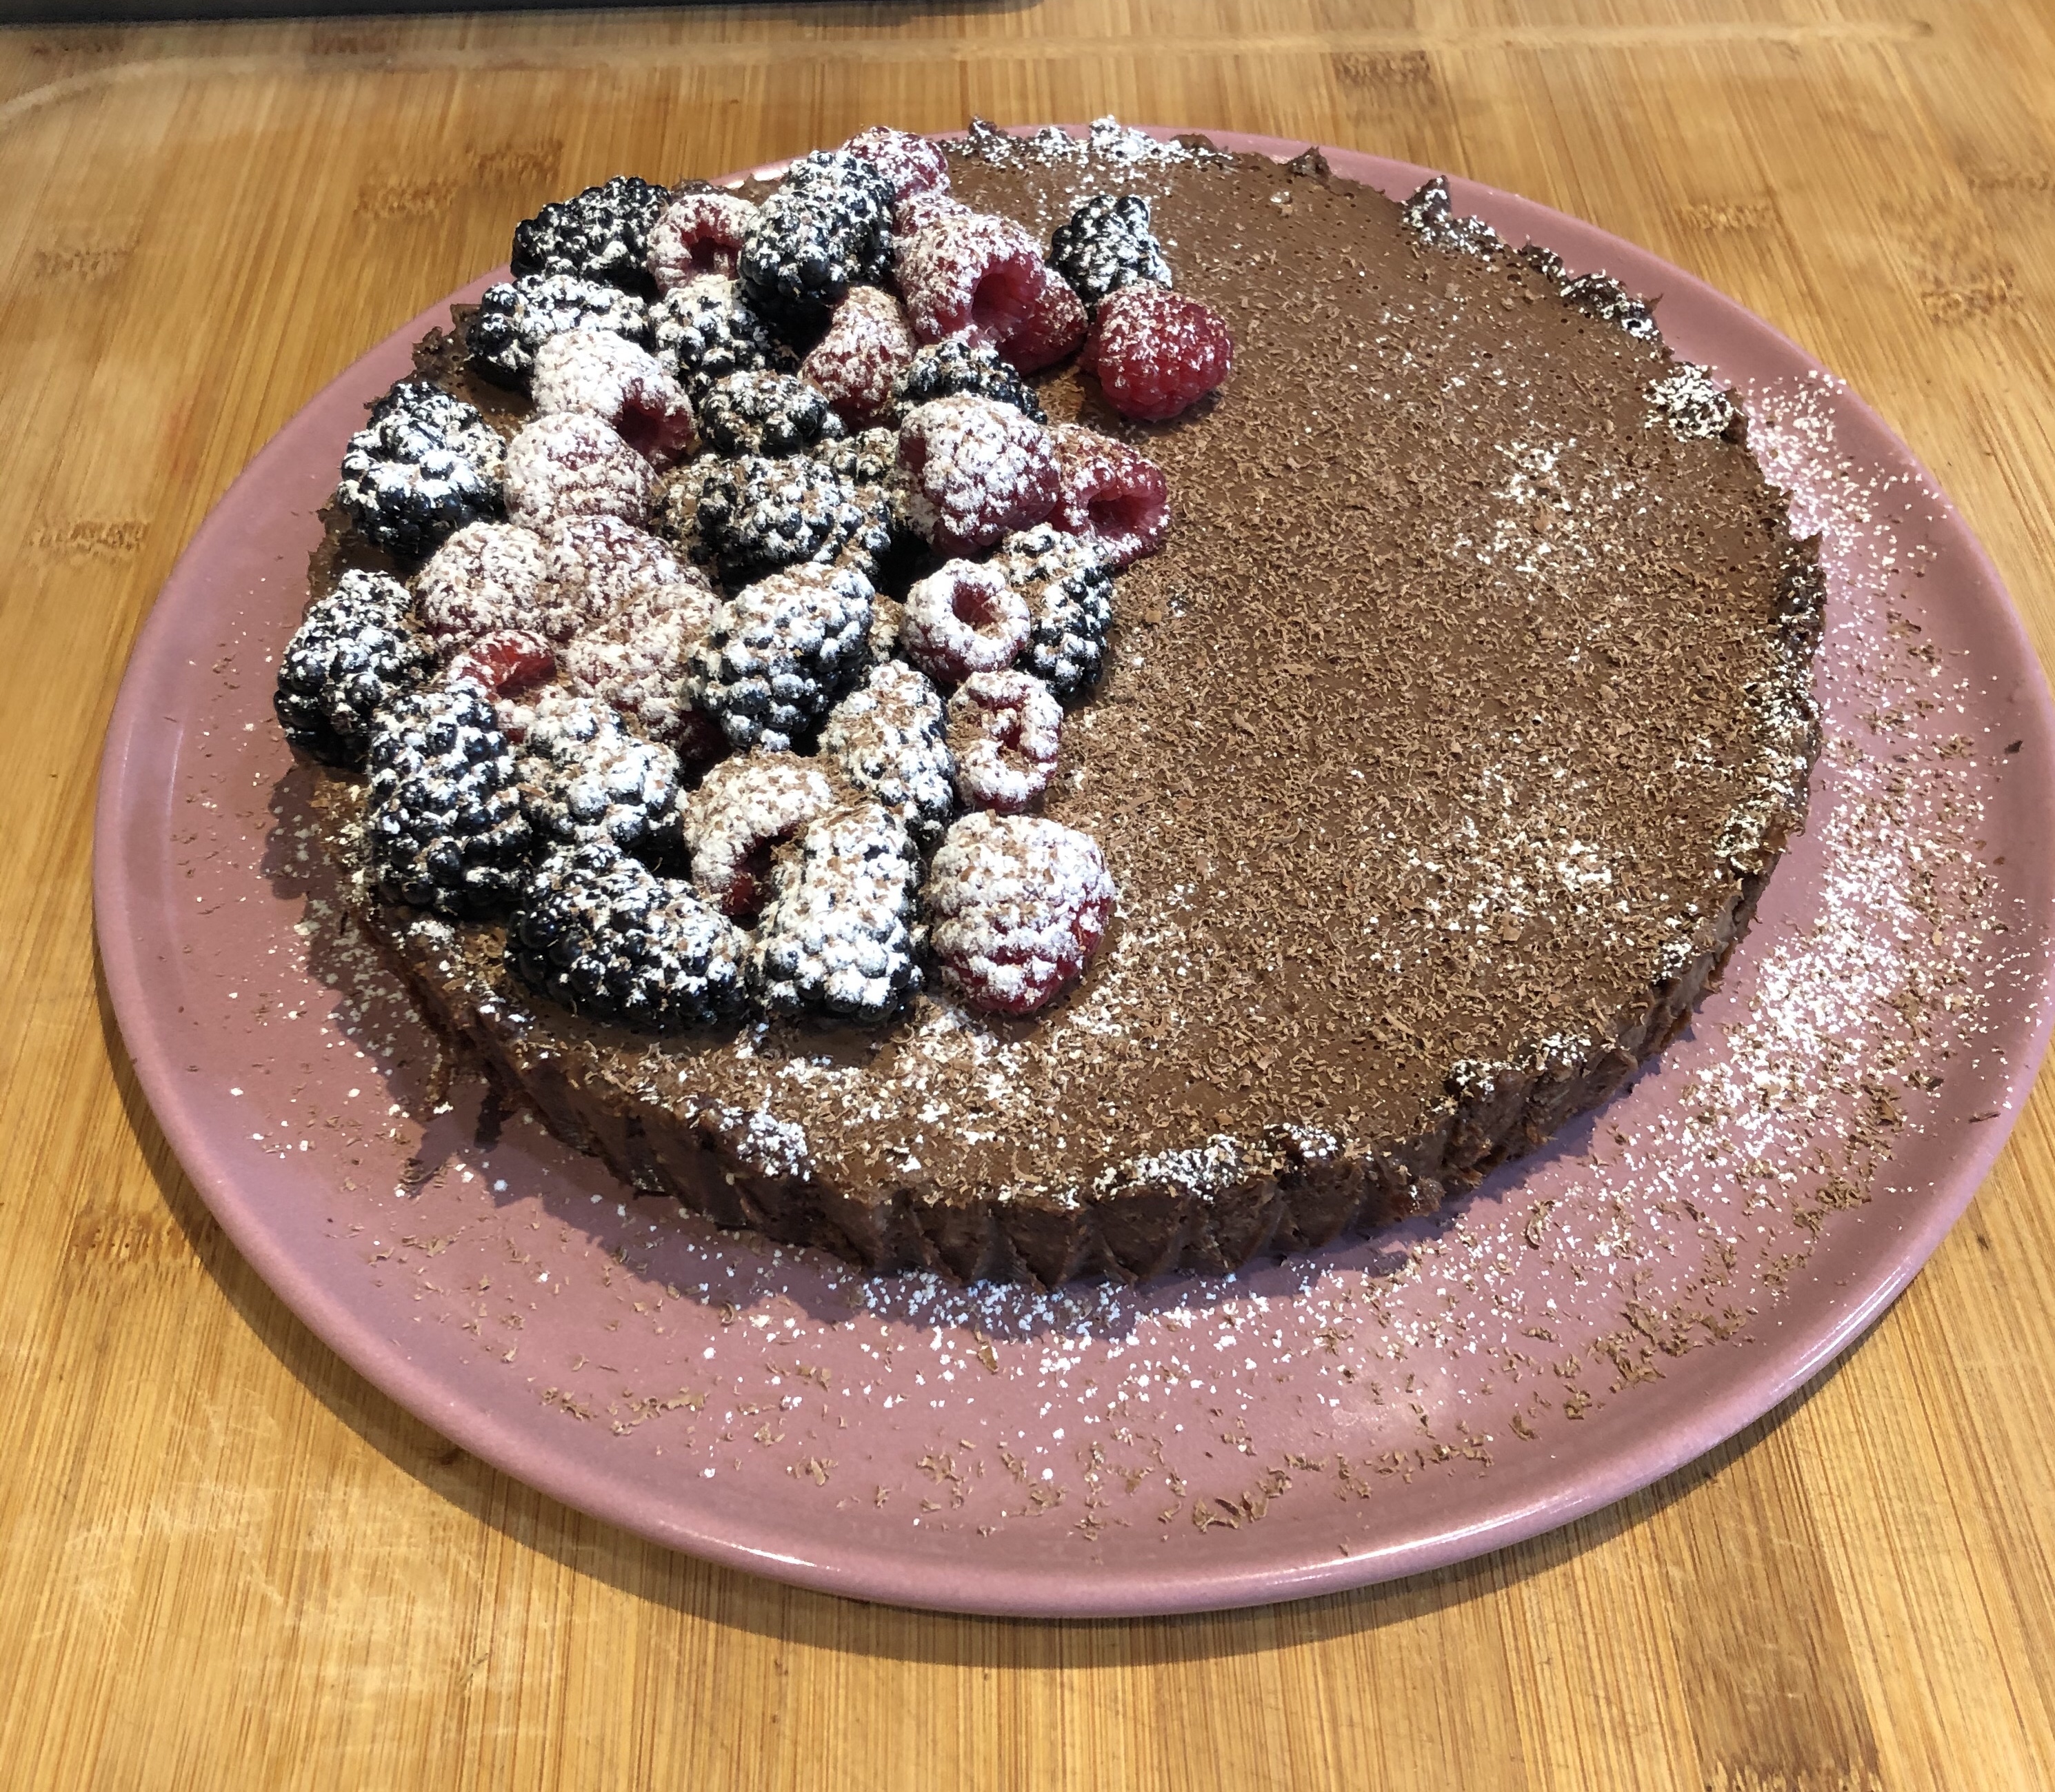
Chocolate Cake with Strawberry Frosting
Cake:
- 3 cups all-purpose flour
- 2 cups sugar
- 1 1/2 cups Dutch processed cocoa powder (the darker the better)
- 1 tbsp. baking powder
- 1 1/2 tsp baking soda
- 1 1/2 tsp kosher salt
- 4 large eggs, at room temp
- 1/2 cup sour cream
- 1 cup buttermilk
- 1 1/2 cups warm water
- 1 tsp espresso powder
- 1/2 cup vegetable oil
- 1 tbsp. real vanilla extract
Frosting:
- 2 sticks unsalted butter, at room temp*
- 8 oz cream cheese, at room temp
- 1 tbsp. real vanilla extract
- 1/2 cup finely dices strawberries
- 2 tbsp. strawberry syrup (I use DaVinci coffee syrup)
- 2 cups powdered sugar
Directions:
Preheat your oven to 350° and line four 24 mini cupcake pans. If you’re going to make a cake, then you’ll want 3 round 8″ cake pans. Standard spray the non-stick cooking spray, parchment paper, yada yada yada. If cupcakes, use cupcake liners; super easy.
Sift together the flour, sugar, cocoa, baking powder & soda, and salt in a large bowl.
Nuke the water until warm, about 1 minute. Add in the espresso powder (this really enhances the chocolate flavor).
In a large measuring cup, beat together the eggs and sour cream. Add in the buttermilk, oil and vanilla. Pour the warm water mixture and the buttermilk mixture into the dry ingredients. Use a spatula to fold all the ingredients together until combined. Like brownies, you don’t want to over mix it or you’ll get a chewy cake.
If making mini cupcakes, about 1 heaping tbsp. per cupcake of batter. Regular cupcakes, fill about 3/4 full. Rounds you’ll divide the batter evenly between 3 pans. Sheet cake, just dump it all in.
- Mini cupcakes – bake for 15 minutes
- Rounds – 35 to 40 minutes
- Sheet – 40 to 45 minutes
Standard: you’ll know they’re done when a toothpick inserted into the middle comes out mostly clean. For cupcakes, pick on in the middle of the pan to test.
For the frosting:
Dice up the strawberries. Put them in a bowl, or I used a ziplock bag, and add in the strawberry syrup. I found that adding the syrup really enhanced the strawberry flavor. This is really helpful if you can’t find good, flavorful strawberries (heyI made this in February, it’s not like they’re going to be great).
Using a stand mixer with the whisk attachment, beat the butter and cream cheese until smooth. *Note: as I mentioned in the previous recipe, for butter cream frostings you want the butter super soft. So while I say at room temp, the softer the better. Otherwise you’ll end up with chunks of butter in your frosting.
Once it’s smooth add in the strawberries and vanilla. Continue beating until smooth again and then turn down the mixer and slowly add in the powdered sugar. Beat until light and fluffy. Frost away and then eat!

 in
in