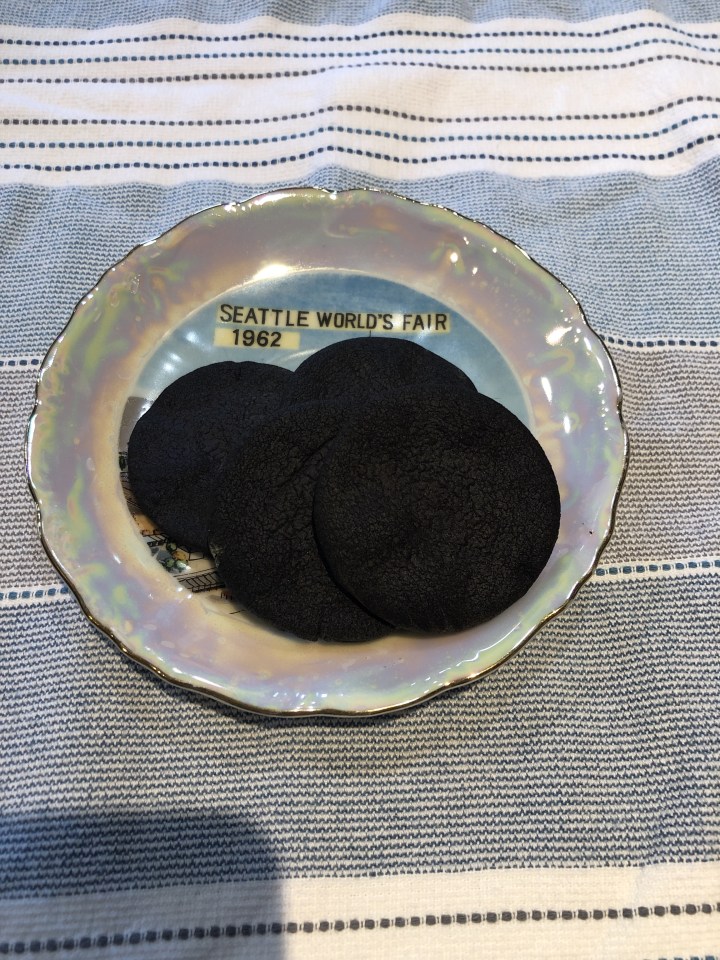
So I was requested (more like a demand) that I make a Dulce de Leche recipe. I was pretty sure what was wanted was actually a tres leches cake but that’s another story (turned out I was right). I’ve modified it a bit, like most recipes I make, and I think it turned out pretty good (or so I heard since I didn’t get any). The original recipe called for white chocolate and I didn’t think that really paired well with the leche. The crust is based on the recipe I posted earlier for dark cocoa cookies. Just let them dry out for a day or too. And an added bonus? There’s not baking involved. Enjoy!

Dulce de Leche pie
Crust:
- 14 to 16 oz of dark cocoa cookies, crushed (amount depends on your pie tin size)
- 8 Tbsp melted butter
Filling:
- 10 Oz chocolate chips
- 1 cup heavy whipping cream
- 1 cup powdered sugar
- 8 oz cream cheese, at room temp
- 1 cup dulce de leche (I make my own)
Topping:
- 1 cup heavy cream
- 1/2 cup powdered sugar
- 1 Tbsp chocolate vodka or liqueur (optional)
Directions:
Pulse the cookies in a food processor until fine. Add the melted butter and mix well. Pour into a pie tin and press firmly into the button and up the sides to create a thick crust. Chill.
Place a mixing bowl and beaters, or whisk attachment if using a stand mixer, in the freezer for 10 to 15 minutes.
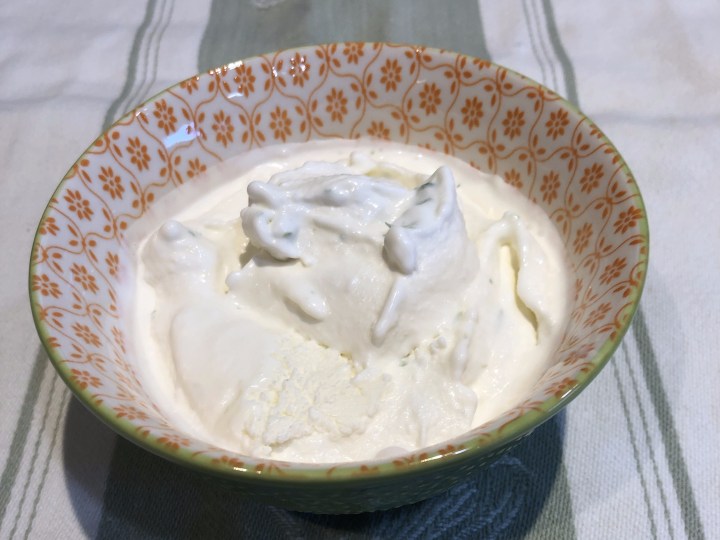
Using a microwave-safe bowl, melt the chocolate by nuking for 20 seconds at a time; stirring in-between until it’s completely melted and smooth. Beat the cream cheese until smooth. Add the melted chocolate and beat again until smooth. Add the dulce de leche and beat again, until smooth.
Take the bowl out of the freezer and beat the heavy cream until it starts to form peaks. Add in the powdered sugar and beat until stiff peaks form. Fold into the cream cheese/chocolate/leche mixture until well combined. Pout into the pie shell and refrigerate for 4 to 6 hours, or until set.
Before serving; put a mixing bowl and beaters, or whisk attachment if using a stand mixer, in the freezer for 10 to 15 minutes. Beat the heavy cream until soft peaks start to form. Add the powdered sugar and chocolate vodka, if using, and beat until stiff peaks form. Spread on top of the set pie and serve.