I was in Vancouver, BC, Canada several years ago and went to a highly recommended restaurant. On their dessert menu they had sticky toffee pudding, which they were known for. Not having had it before I decided I had to give it a try. It was one of the most amazing desserts I’ve ever had, absolutely delicious! However there is no where in Seattle, that I’ve found, that has it on their menu. So I contacted the restuarant in Vancouver and asked them for their recipe and they were kind enough to share it. Upon making their recipe I discovered that the finished product was nowhere near what they served (not saying they did this deliberately but whatever). So I spend several months research various recipes and came up with this one, which I think is just as good as the original dish I had in Vancouver oh so many years ago. Enjoy!

Sticky Toffee Pudding
- 1 3/4 cups flour
- 3/4 tsp salt
- 1/2 tsp ground cinnamon
- 1/2 tsp ground cloves
- 1/4 tsp ground nutmeg
- 8 oz chopped dates*
- 1 cup water
- 1 tsp instant espresso powder
- 1 oz scotch
- 6 oz butter, at room temp
- 1 cup brown sugar
- 4 eggs, at room temp
- 2 tsp baking soda
Direction
Sift together the flour, spices and salt.
Microwave (or heat on the stove) the water until hot, add the espresso powder and scotch. Pour over the dates and let set for 10 minutes until really soft. Puree them in a blender until smooth.
Using a stand mixer, I like my KitchenAid 6-Qt. Bowl-Lift Stand Mixer, cream the butter and brown sugar on medium speed until light and fluffy. Add the eggs, one at a time, beating until incorporated.
Add 1/2 the flour mixture at low speed and beat until just incorporated.
Add the baking soda to the date mixture and pour into the batter, mixing at low speed until just incorporated. Add the remaining flour mixture and beat until barely incorporated. You don’t want to over mix it.
Spray two 9 inch cake pans with non-stick spray. Divide the batter evenly between the two pans. Bake at 325 degrees for 30 minutes or until a tooth-pick comes out clean.
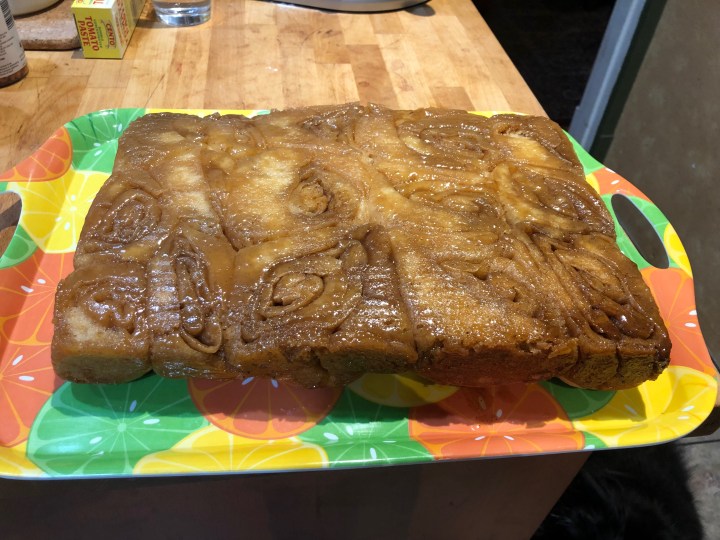
Take a scewer and poke a ton of holes in each cake. Pour the butterscotch sauce (recipe below) on each cake giving them both a thin layer. Don’t worry, it’ll soak into the cake. This is what makes it super moist. You want to do this while they’re still hot out of the oven.
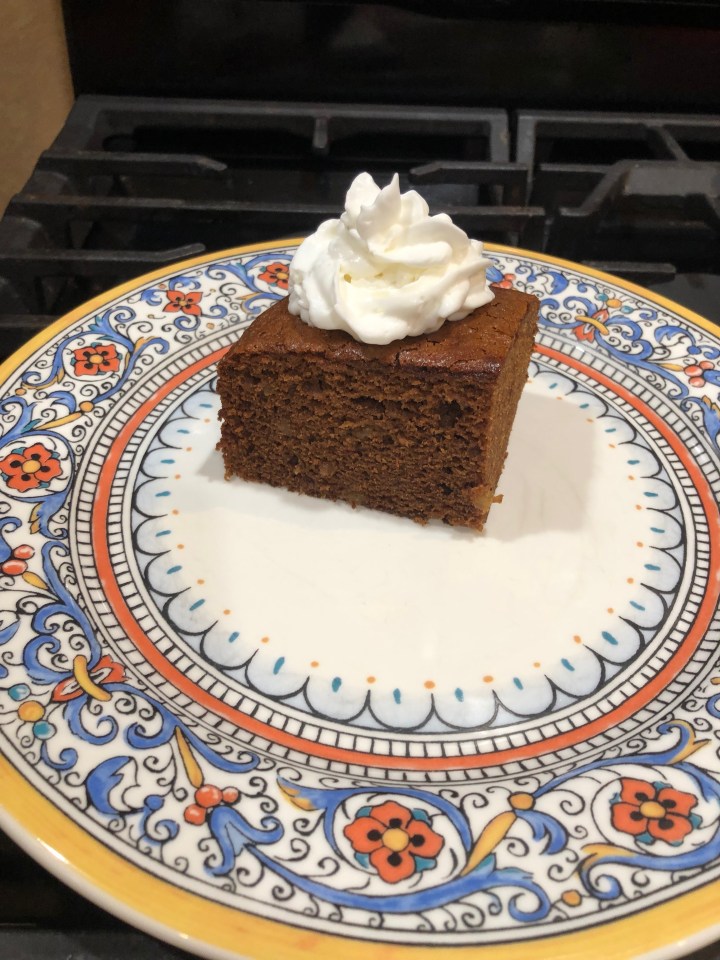
Once they’ve cooled use a sharp paring knife to gently loosen them from the sides of the pan, flip over onto a plate. They should come right out. Serve topped with more butterscotch sauce.
Butterscotch Sauce
- 1 stick unsalted butter
- 2/3 cup brown sugar
- 1/2 cup granulated sugar
- 3/4 cup light corn syrup
- 2/3 cup heavy cream
- 1 1/2 ounces Scotch whiskey
- A pinch of sea salt
Directions
In a large pan over medium heat bring butter, sugars and corn syrup to a boil. Let them boil for about 4 minutes, stirring so it doesn’t burn or boil over. Remove from the heat and carefully whisk in the cream and Scotch – it will hiss and steam like crazy! This is why you’re using a large pot. Whisk in the pinch of sea salt and let it cool.
The scotch you use here can really make a difference. Try to use a good quality one. The more peat flavor the better in my experience.